
Remove woofer from cabinet.
Lay cabinet upside down at convenient working height and unscrew woofer. Note carefully the wire polarity - mark the wire and disconnect the terminals. If the wires are soldered on, be careful not to apply too much heat to the woofer’s terminal plate. This could melt the solder holding the flexible lead-in wires which connect to the woofer’s cone.

Remove gasket (when fitted)
If the speaker is fitted with a gasket, remove it now by inserting a very sharp carton cutting knife in between the bottom of the gasket and the old surround. Try to get it off in one piece – but if it breaks apart don’t worry, you can easily glue it back up with your glue. Note the positioning of the gasket on the frame – most gaskets have indents cut out to clear the mounting screws. And always cut away from your other hand – it may take quite a bit of cutting force to separate the gasket from the frame and it’s easy to slip.

Remove the old rotten foam
Scrape the old foam off the frame with the sharp (carton) knife. Clean it back to the paint or the shiny metal so the surface becomes smooth. Do the final cleaning with a rag and isopropyl alcohol. If you don’t have any or don’t want to use it: get it then just clean it up so there are no obvious lumps of glue and foam left on the frame. Old traces of glue are OK. You want it to be relatively smooth.
Remove as much glue and foam from the speaker cone as you can - but be gentle! Don't use to much force! If not sure - please leave more (glue)!!!
Glue the new surround to the cone.
Take your glue and screw the top off. Put the lid back on and apply a line of glue to the edge of the cone. If the old surround was mounted on the back of the cone then put the glue on the back of the cone. Spread it flat with the cotton buds supplied with the kit. Now apply a line of glue to the inside edge of the foam surround and spread it flat. Leave the surfaces to cure until they have gone tacky and about 70 to 80% clear. This will take between 10 and 20 minutes depending on the weather. Lightly place the foam surround on the top or bottom of the cone (on whichever way it was mounted originally) making sure the surround is centred relative to the cone. Press the foam edge onto the cone all the way around. Press out any ripples or bumps. This may take some time: the glue will still be drying as you press the surfaces together. Leave it to dry before proceeding.
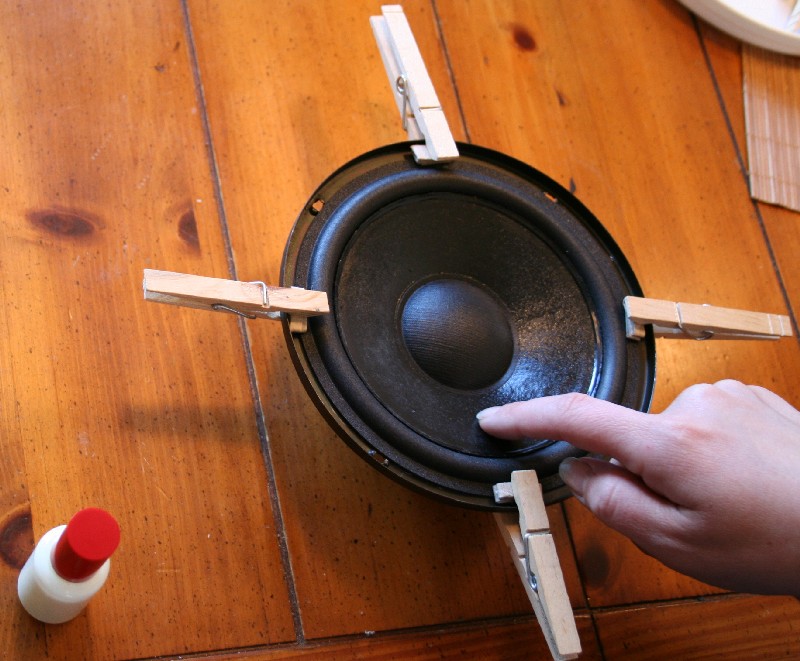
ALIGN THE WOOFER.
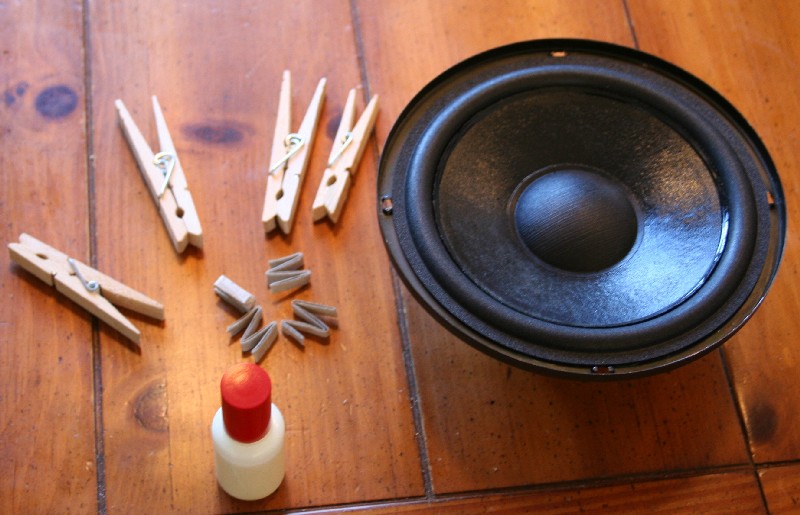
Aligning the woofer may sounds like a horrible job, actually it's a pretty easy job. With our manual you can align any woofer without removing the dust-caps! What do you need:
- four clothes-pegs
- glue
- pieces of wood
Please note you must have glued the ring to the cone before proceeding.
How to.....
:Step 1: align on the 'horizontal axis':
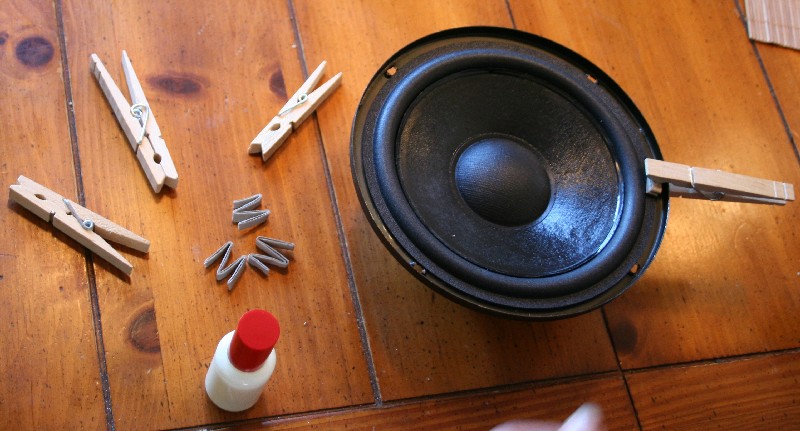 |
Put a clothes-peg on the right side of the woofer (position 3 o'clock) |
 |
Put a clothes-peg on the left side of the woofer (position 9 o'clock) |
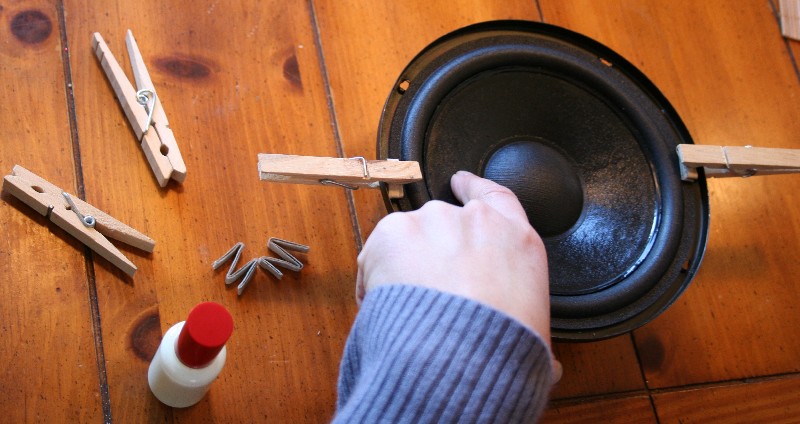 |
Push the speaker cone downward on the left side. Listen and feel if there's any scraping of the voice coil. No scraping is OK. |
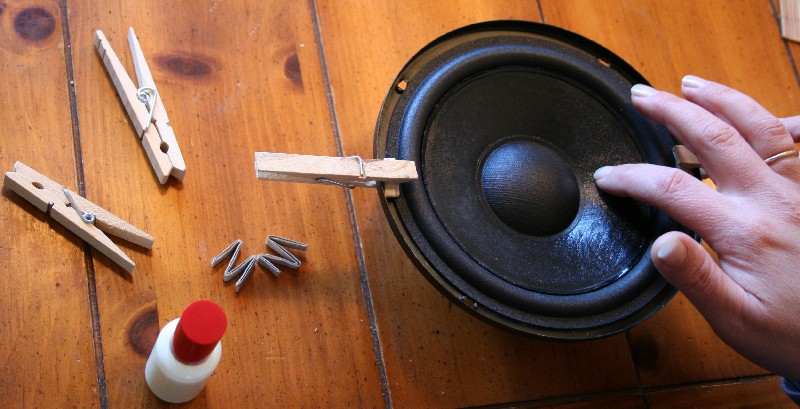 |
Push the speaker cone downward on the right side. Listen and feel if there's any scraping of the voice coil. No scraping is OK. |
If the woofer makes a scraping sound or you feel scraping on one side earlier
- the woofer is misaligned.
For instance: there's more scraping on the left side of the woofer. In that
case: remove the clothes-peg on the right side, pull the ring a little to
right and put the peg back in place. Repeat the 'push and feel' steps above
until both left and right side of the woofer do not have any scraping. (Always
pull the speaker cone 'away' from the scraping part!)
If both sides are free of scraping, the woofer is aligned on one axis. Leave the pegs in place!
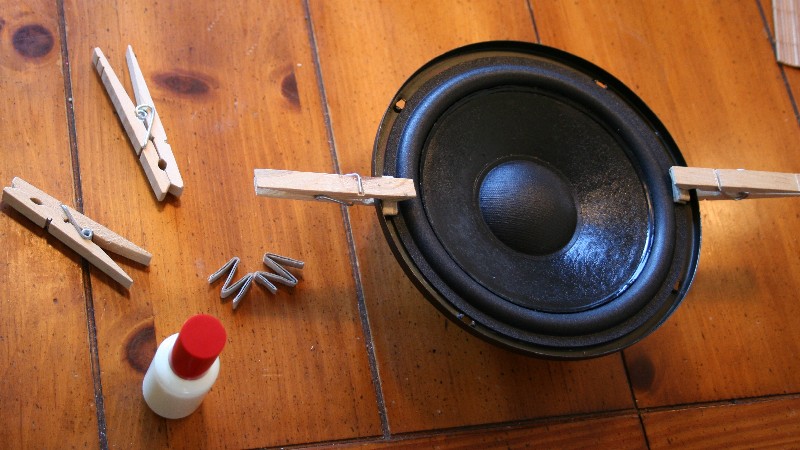
Step 2: aligning the 'vertical axis':
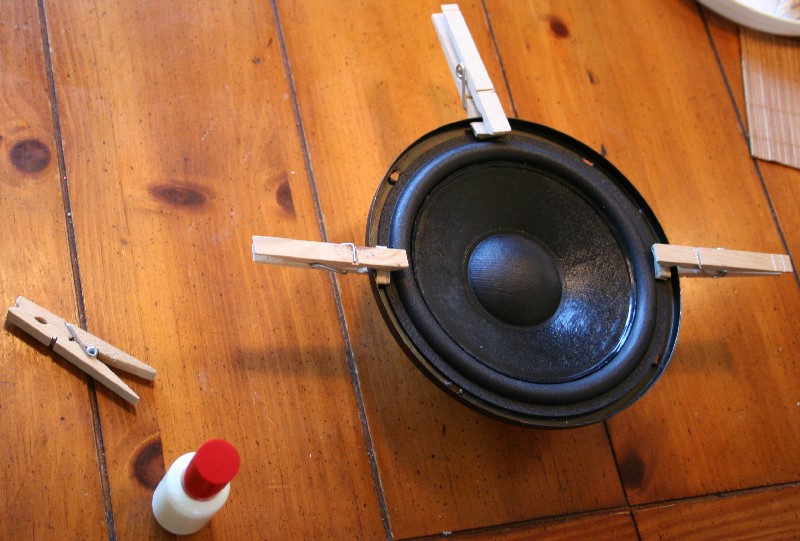 |
Put a clothes-peg on the top side of the woofer (position 12 o'clock) |
 |
Put a clothes-peg on the down side of the woofer (position 6 o'clock) |
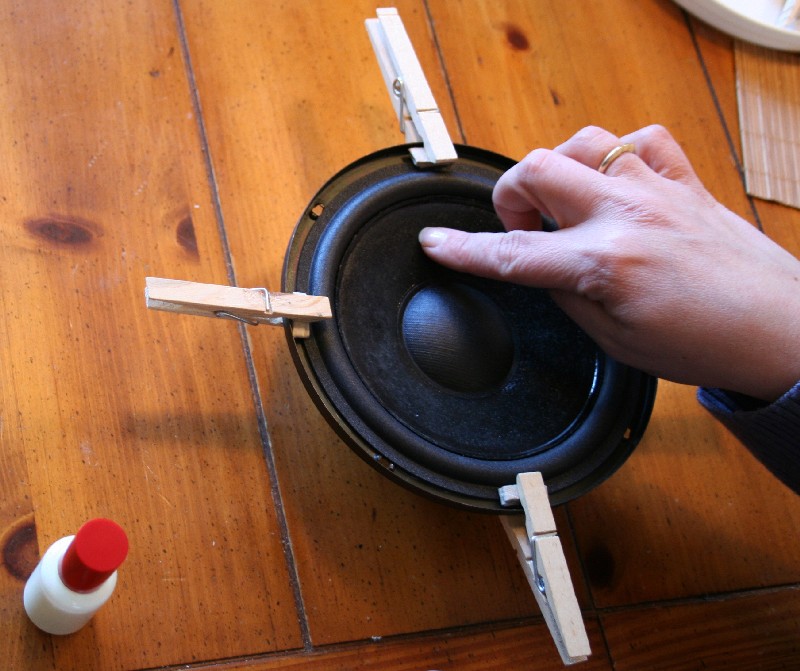 |
Push the speaker cone downward on the left side. Listen and feel if there's
any scraping of the voice coil. No scraping is OK.
|
 |
Push the speaker cone downward on the right side. Listen and feel if there's any scraping of the voice coil. No scraping is OK. |
Act like you did before. If there's scraping in tthe upper part, remove the peg on the 6 o'clock postion and pull the cone a little towards that pag. Put the peg back in position. Feel again. Repeat until there's no scraping.
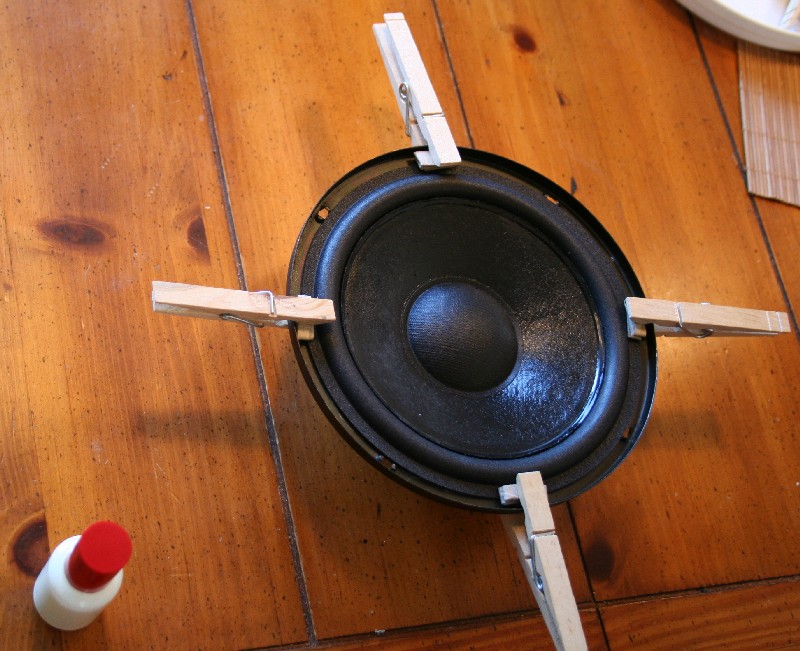
If both sides are free of scraping, the woofer is aligned on both axis. Leave the pegs in place!
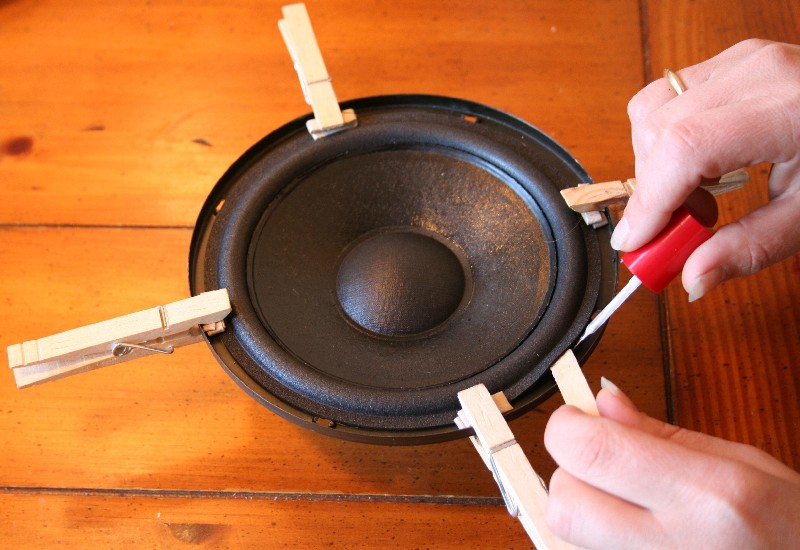 |
Leave the
pegs in place and glue the ring between the pegs to the speaker frame. This
way it's guaranteed the speaker will be aligned. Let the glue dry. Once the glue is dry, remove the pegs and glue the ring where the pegs used to be. Another woofer saved! |