Refoaming Philips FB-561 woofers
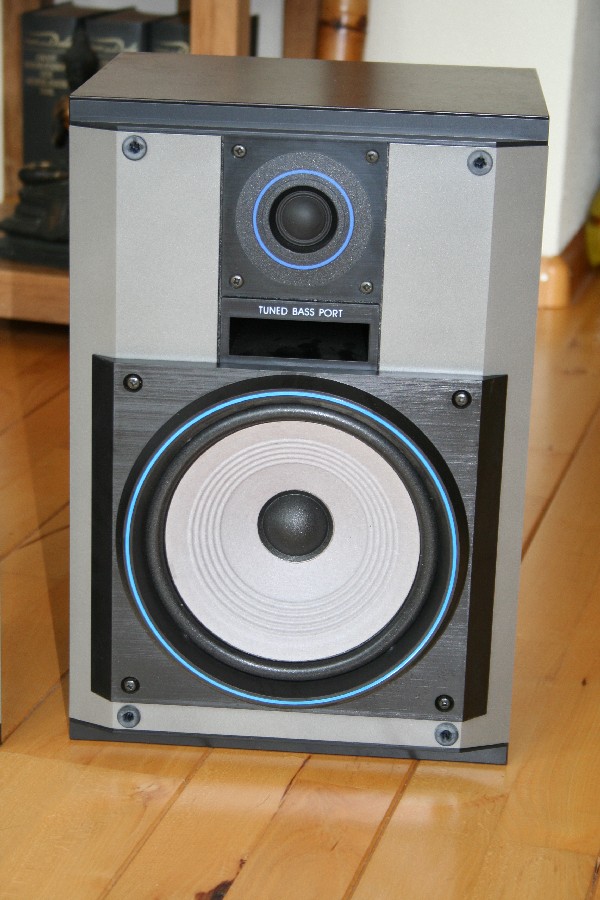
The FB-561 contains a very special woofer, just like the other speaker from Philips'
Digital World Series. It's not just that the foam ring is glued under
the speaker cone, the rings has also been mounted inverted! We
decided to repair this woofer with a new foam ring. We glued the ring
behind the speaker cone as well but chose not to mount it inverted.
A report........
The same woofers are being used in the FB-563 and FB-565.
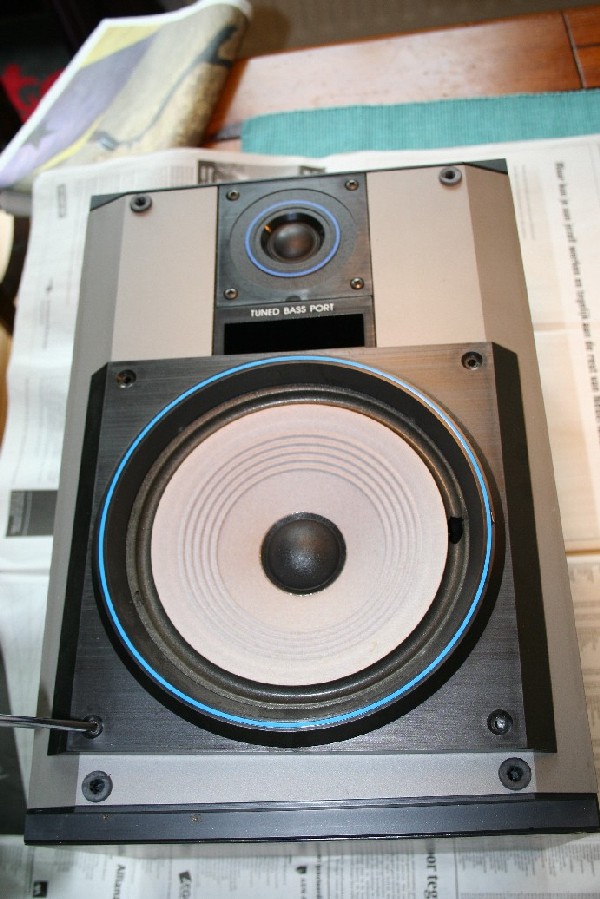
Here you can see the
woofer the way we bought it. The ring seems fine, but you can see a small
hole. Also you can see a small 'dent' in the ring on the left side. These
are signs the ring is lost!
The woofer is mounted behind a plastic gasket, we have te remove it to see
the whole of the woofer. You can clearly see the inverted ring, glued to the
back of the cone.
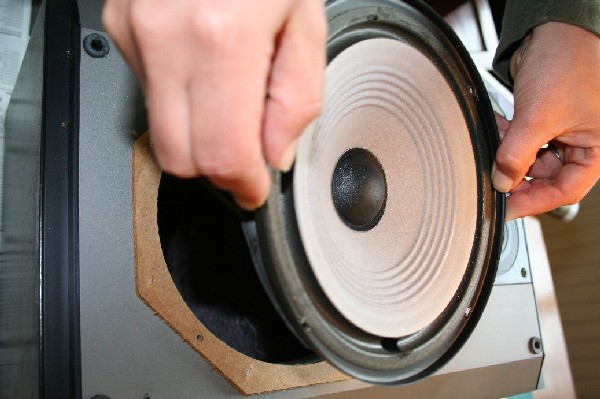
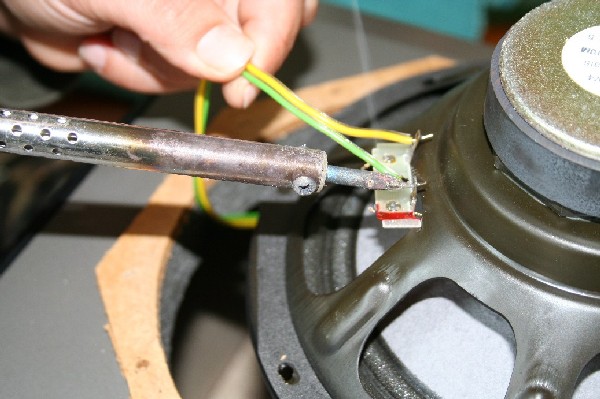
Remove the wires - don't solder to hot or to long. You can damage several parts if you do. Work precise and quick and don't use more heat than neccessary. Mark the cables, so you know how to attach them once your finished. Please note most speakers have a marked (red) connector; that's the plus (+).
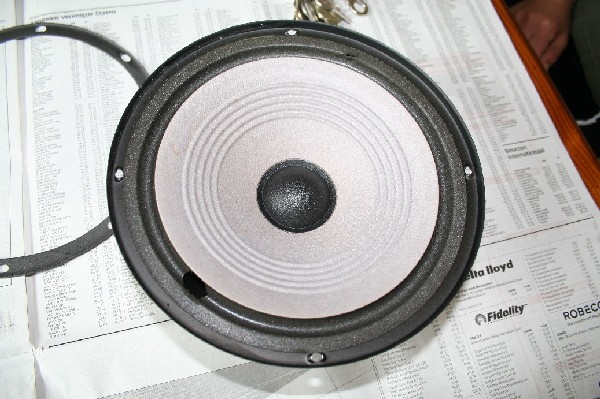
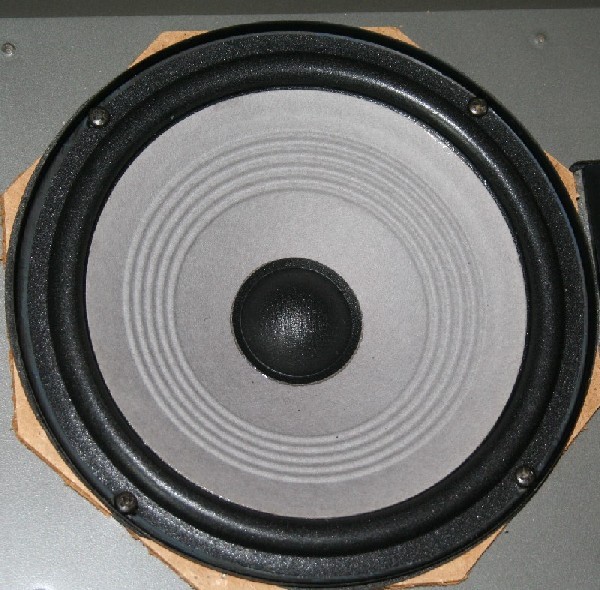
Here's the woofer. You can clearly see:
- Hole in the foamring
- Inverted foam ring
- foam ring mounted behind the speaker cone
On the background the foam sealing ring that will de re-used.
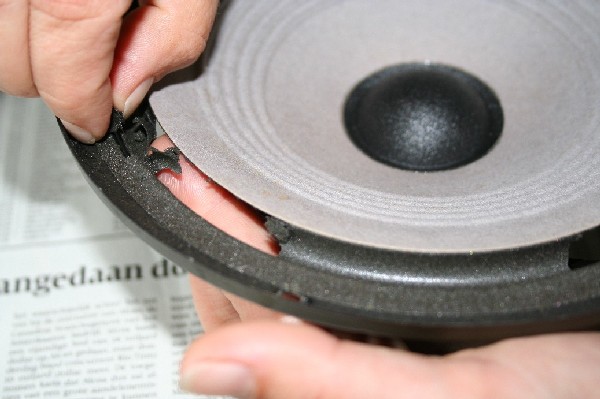
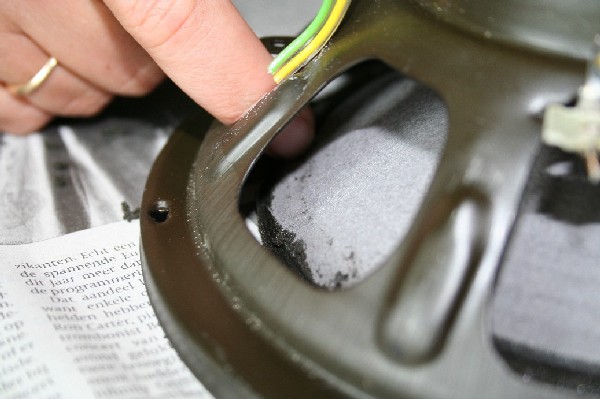
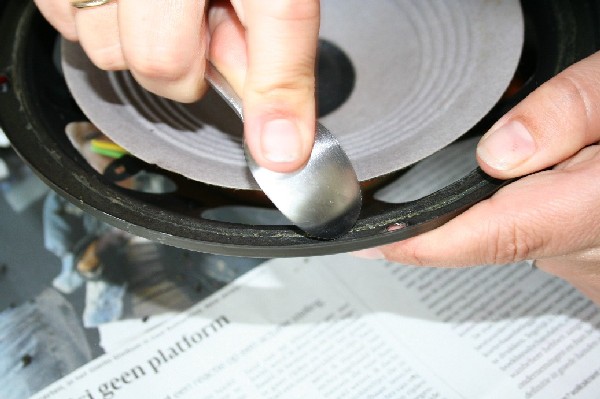
Don't use to much force. Make sure the frame is 100% clean. You can remove the final parsts of the glue with a cotton dipped in alcohol or thinner. We finish this part by using some ammonia to remove the last grease.
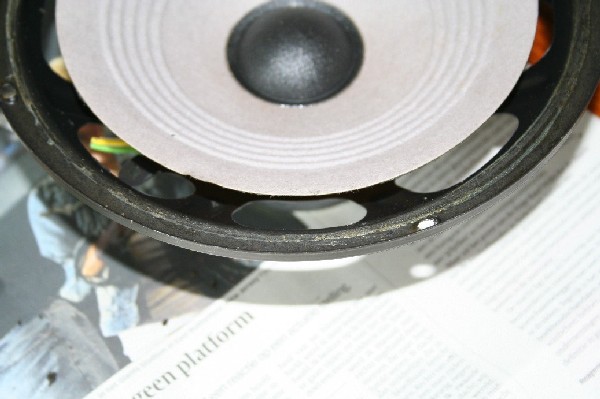
This is where the alcohol and later the ammonia comes in......
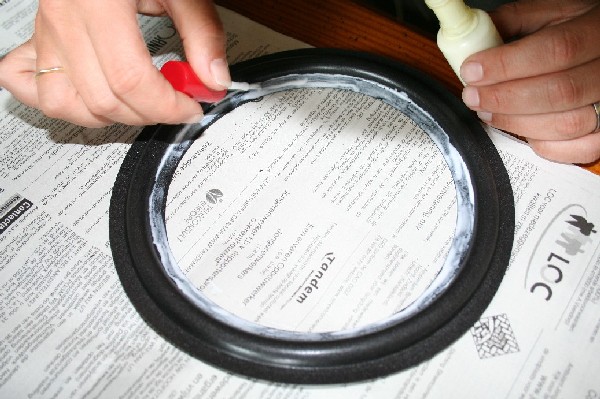
Now it's time to glue the new ring to the cone. Spread our special glue over the inner flip of the ring. Spread so much the glue remains white and liquid. On the parts you added to little glue the glue will dry instantly - add some glue to those parts. Don't use too much, but obey the rule about liquity and colour.
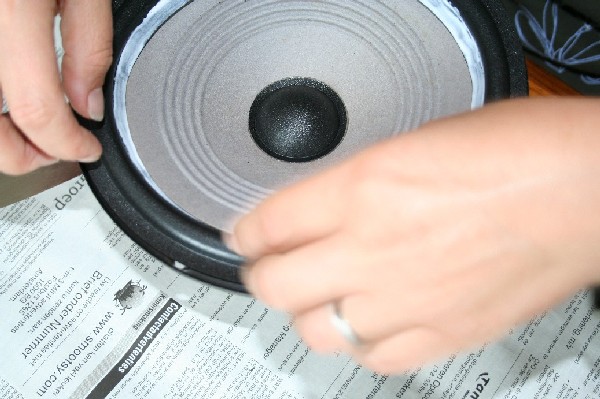
'Fold' the ring behind
the cone. Our special glue gives you plenty of time to do it right, so don't
hurry. You can use a 'tool', i.e. a knive, to lift the cone a little in case
it's hard.
Once the ring is folded behind the cone, gently push the cone a few times.
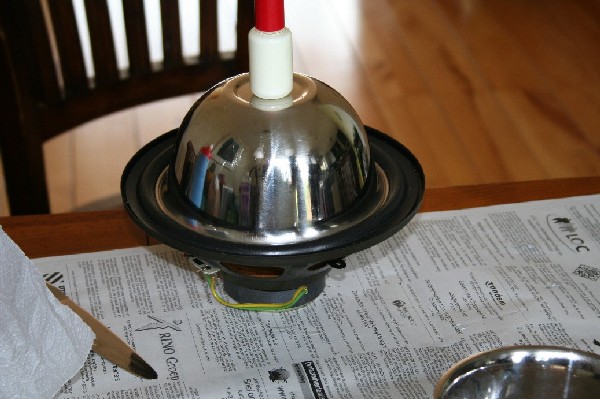
Let the glue dry for a few hours. You might want to put some weight on the
unit.
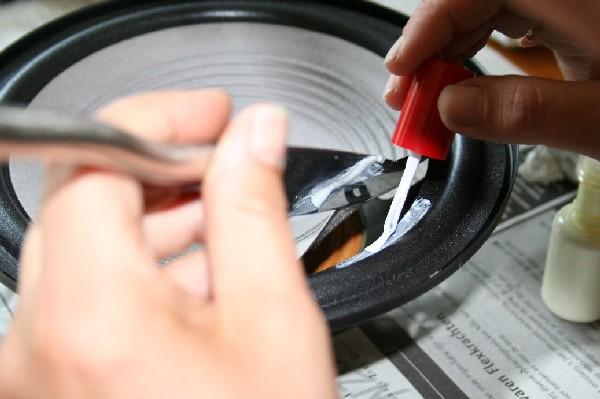
Here's another way to glue to the cone: fold the ring behind the cone and lift the cone a little. Spread the glue on the inner flip of the ring and work your way around. The rule about the amount of glue is the same: it must look white and liquid.
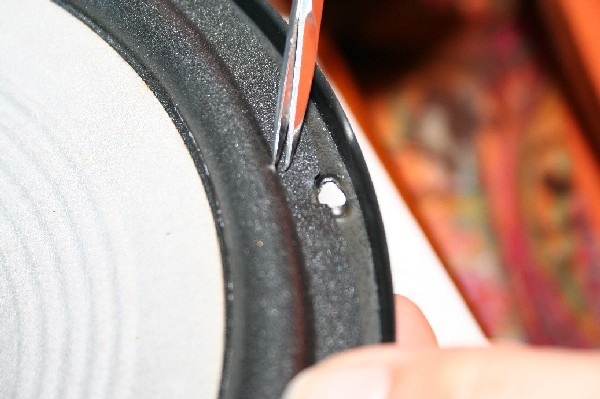
Some woofers have holes
in them that are not totally flat around them. I recommend to cut the ring
on those spots, so you can glue the outer part of the ring to the frame more
easily.
You cut the holes? OK.Now lift the ring with a knive and put the glue on the
frame. Work you way around. Then gently push the speaker cone inwards a few
time to 'center' the voice coil. If you glue the ring to the back of the
cone the speaker will have a strong tendency to 'auto-center', so little
correction will be neccessarry at the most........
Good luck with repairing your speakers!